There’s nothing more annoying—or wasteful—than the persistent drip, drip, drip of a leaky faucet. Not only does it drive you crazy at night, but it can also cost you hundreds of gallons of water over time. The good news? Fixing a leaky faucet is one of the easiest DIY repairs around. Whether you’re dealing with a bathroom or kitchen faucet, here’s how to stop the drip in five simple steps.
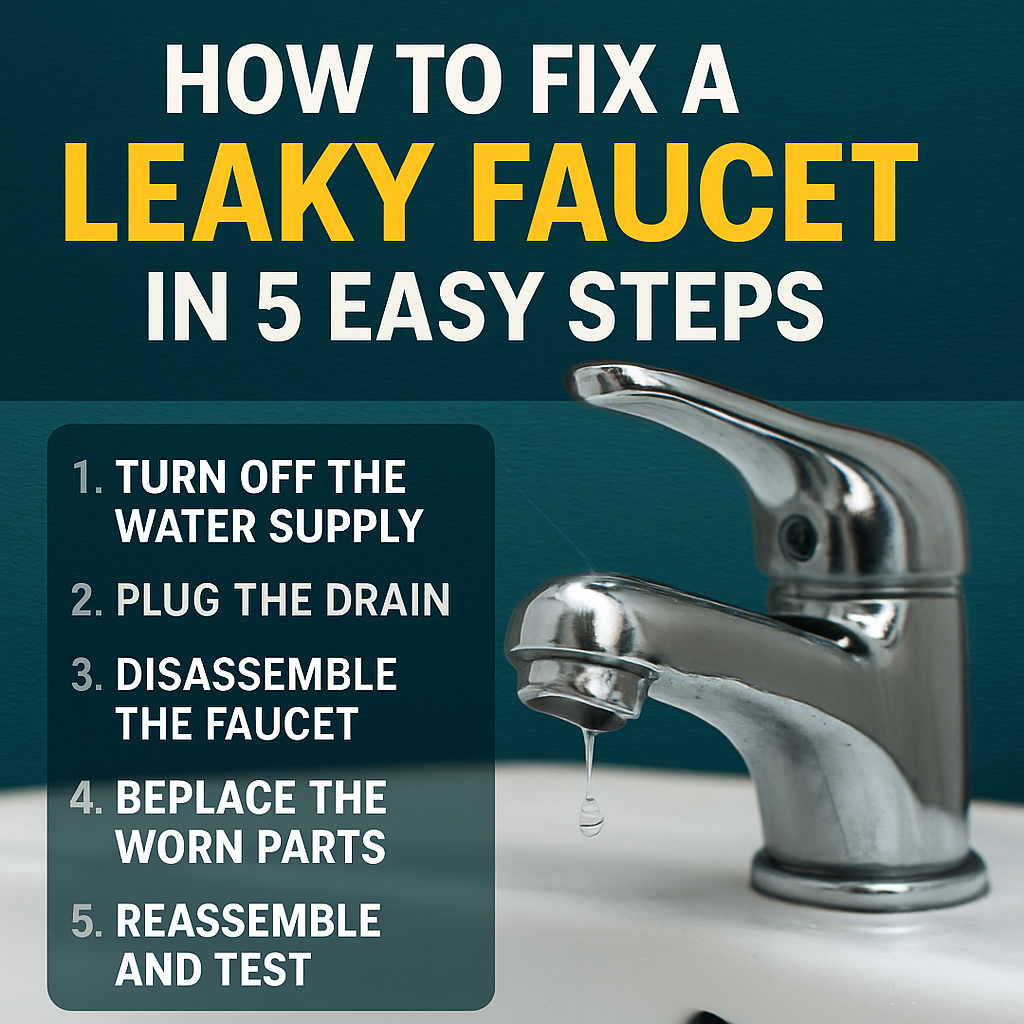
Step 1: Turn Off the Water Supply
Before you do anything, shut off the water under the sink. You’ll usually find two valves—one for hot and one for cold. Turn both clockwise until they’re tight. Then, open the faucet to relieve any leftover pressure and drain the water.
Step 2: Plug the Drain
This step may seem small, but it’s a lifesaver. Use a sink stopper or stuff a rag in the drain to prevent any screws or small parts from falling in.
Step 3: Disassemble the Faucet
Use a flathead screwdriver to gently pry off the handle cap (usually marked hot/cold), then unscrew and remove the handle. Depending on your faucet type (compression, cartridge, ball, or ceramic disc), you may need a wrench to remove the packing nut and expose the inner workings.
Step 4: Replace the Worn Parts
In most cases, a leaky faucet is caused by a worn-out washer or O-ring. Take the old parts to a hardware store to match replacements exactly. Pro tip: buy a multi-pack—they’re cheap, and you’ll be prepared next time. Here is an inexpensive kit on Amazon.
Step 5: Reassemble and Test
Put everything back in reverse order. Turn the water valves back on slowly and test the faucet. No more leaks? Victory!
Final Thoughts:
Fixing a leaky faucet doesn’t require fancy tools or plumbing experience. With a little patience and about 30 minutes of your time, you can stop the drip, save water, and feel like a home repair hero. If you are unable to fix or just want professional help, give us a call today!
Leave a Reply